Tuesday, December 28, 2010

English Toffee


I love me some toffee!  I've been wanting to make it forever, but haven't until now.  Candy involving a candy thermometer can be temperamental.  Having attempted other types of candies, I knew that it was important to have all the ingredients measured and ready.  This technique is called mise en place and I should really do it with all my recipes, but most of the time I don't. 


My first attempt to make English Toffee went really well, until the very end.  When the candy was ready to be poured into the prepared pan, I removed the candy thermometer and dropped it into the molten liquid.  The glass of the thermometer broke, and I couldn't find any traces of it anywhere.  Not knowing what else to do at the moment, I transferred the candy to the pan and let it cool.  After breaking a piece off and examining it for glass, I tasted it, and it was excellent.  It's a real shame the batch was ruined by glass because for my first attempt, this toffee could not have turned out more perfect.  It was buttery, nutty and had a perfect sweet crunch.


I had enough butter and slivered almonds in the house to make another batch the next day.  I awkwardly used my digital thermometer (nothing to attach it to the pot like my candy thermometer had).  Other than the thermometer, I did everything the same as before, however the replacement batch did not turn out as well.  The second time around, near the end of the cooking process, the butter and sugar started separating.  I couldn't get it to come back together, but I soldiered on and spread it into the pan.  Once it cooled for a minute I took a few paper towels and tried to get rid of the excess butter that was pooling.   Before it cooled too much in the pan, I used a knife to score the candy to make more uniform pieces once broken apart.  The toffee ended up tasting fine, but the texture turned out a little grainy.  Not willing to waste another pound of butter, I decided that these were good enough and coated them in chocolate and chopped nuts.


Marilyn's English Toffee
From America's Test Kitchen
Yield: About 3 pounds

1 lb unsalted butter
1/2 tea. table salt
2 cups granulated sugar
3 tbsp. water
1 cup slivered almonds (do not use sliced almonds)
12 oz. semi-sweet chocolate (chips are fine)
1 1/2 - 2 cups lightly toasted pecans (or walnuts), finely chopped

Melt 3/4 of chocolate over hot water or in a microwave oven at half power for 2-3 minutes. When melted, stir in remaining chocolate and set aside. Line a large jelly roll or half-sheet pan with heavy-duty foil and butter the foil.

Melt the butter with the salt in a heavy 3 quart saucepan over medium heat. Slowly add the sugar, stirring constantly with a wooden spoon. Add the water about halfway through this process. 

After all the sugar is added, begin testing the mixture to see if the sugar is dissolved. Place a drop of mixture on wax paper; allow it to cool and rub it between your fingers to make sure it doesn’t feel grainy. If it does, continue to cook and test again. The mixture will probably be boiling at this point.

When sugar is dissolved, add the almonds, and increase the heat to medium high. Cook to the hard-crack stage, or about 310-320 degrees on a candy thermometer, stirring often to keep the candy from burning on the bottom. When it’s done, it should be a medium-dark amber color and have a caramel aroma. The almonds should have a toasted color but they should not burn. This is the tricky part, as there’s a thin line between perfect and overdone, and to some extent it’s a matter of taste.

Remove from heat and pour into the prepared pan, spreading as evenly as possible with an offset spatula. Be careful, this stuff is hot! Set the pan on a cooling rack. After 2-3 minutes, when toffee is just set, pour reserved chocolate on top and spread evenly. Sprinkle with chopped nuts, and press them in gently with a spatula or bottom of a glass to anchor them in the chocolate.

Allow the toffee to harden at least 6-8 hours—overnight is better. Break into pieces using a sharp pointed knife with a rigid blade, or you can use your hands. Store in an airtight container in a cool place.


Tuesday, December 21, 2010

Eggnog Fudge


I really like eggnog, so it's a good thing it's only in stores around the holidays.  As far as I know, I never had eggnog until high school.  I think I asked my mom to buy some so I could try it.  Maybe my parents don't like it?  Maybe it's just something they didn't have while they were growing up?  Neither my mom or dad's side of the family offer it during the holidays.  The first year I spent Christmas with Kevin's family, I had my first homemade eggnog, what a treat!

This fudge definitely tastes like eggnog, yum!  It was a complete success, and it was fairly quick and easy too.

Eggnog Fudge
Yield: 60 to 70 pieces

2 cups granulated sugar
1/2 cup (1 stick) butter
3/4 cup dairy eggnog
10.5 oz white chocolate bars, chopped into small pieces (I used an 11 oz package of Ghiradelli white chocolate chips)
1/2 tsp freshly grated nutmeg, plus a little more for the top of the fudge
7 oz jar marshmallow creme (I used 7.5 oz jar of Fluff)
1 tsp rum extract

Line an 8 or 9-inch square pan with foil and let it hang over the sides. Butter the foil.

In a heavy, 3-quart saucepan combine sugar, butter and eggnog. Bring to a rolling boil, stirring constantly. Continue boiling 8 to 10 minutes over medium heat or until a candy thermometer reaches 234°F, stirring constantly to prevent scorching. Remove from heat.

Using a wooden spoon, work quickly to stir in chopped white chocolate and nutmeg until chocolate is melted and smooth. Stir in marshmallow creme and rum extract. Beat until well blended and then pour into prepared pan. Sprinkle a little freshly ground nutmeg on top. Let stand at room temperature until cooled. Refrigerate if you’d like to speed up the process.

When completely cool, cut into squares. Store in a covered container.


*This fudge freezes well. Place in a covered container; it will keep for several weeks.  


Tuesday, December 14, 2010

Chocolate Mint Cookies


I hope everyone has at least started their Christmas baking by now.  I love this time of year because it gives me an excuse to try a bunch of new cookie and candy recipes (mixed in with some holiday standbys).  I always have these high hopes of making a ton of different things, but I run out of time to actually make everything.  


I'd been looking for Nestle's Mint Chips all season and when I finally found them I bought three bags.  I didn't really know what I was going to do with them.  Kevin has been craving Chocolate Crackles, but I decided against them because I needed to make them closer to Christmas so the confectioner's sugar wouldn't dissolve.  The Chocolate Mint Cookies are an adaptation of my Gram's Chocolate Crackle recipe.  These cookies are ridiculously quick and easy, and have the classic combination of chocolate and mint.  These are so good, I can guarantee you won't be sorry if you try them.

Chocolate Mint Cookies
Adapted from my Gram's recipe
Yield: About 4-5 dozen cookies

1 package Devil's Food cake mix
1 Tbsp water
2 eggs, slightly beaten
1/2 cup vegetable oil
1 (10 oz) package mint chips

Preheat oven to 375.  Combine all ingredients except chips in a bowl.  Mix with a wooden spoon until well blended.  Add the mint and chocolate chips and stir until combined.  Shape dough into 1-inch balls.  Place on greased baking sheets.  Bake for 8-10 minutes.


Tuesday, December 7, 2010

Pear Waffles


I love waffles!  They are probably my favorite warm breakfast food, but they have to be regular, crispy waffles, not the fluffy Belgian waffles.  And I'll tell you what, we had a heck of a time finding a regular waffle iron when we were registering for our wedding gifts.  Everything is of the Belgian variety these days.


Pear waffles are simply waffles topped with sliced pears and maple syrup.  It was a combo I randomly came up with a while back and it's just fabulous.  The waffle recipe is great on its own too, a little sweet with a hint of spice from the cinnamon and nutmeg.  

Waffles
Adapted from
Better Homes & Gardens New Cook Book
Yield:  10-12 waffles

1 3/4 cup flour
1 Tbsp baking powder
1/4 tsp salt
1/2 tsp cinnamon
A pinch of nutmeg (preferably freshly ground)
3 Tbsp brown sugar, packed
2 eggs
1 3/4 cup milk (or substitute buttermilk)
1/2 cup oil

2 pears, sliced
Real maple syrup

Preheat a waffle iron.  In a mixing bowl combine flour, baking powder, salt, cinnamon, nutmeg and brown sugar.  In another bowl beat eggs slightly, then beat in milk and oil.  Add to flour mixture all at once.  Beat until just combined, but still slightly lumpy.

Pour batter onto grids of a lightly greased waffle iron.  Close lid quickly and do not open during baking.  Bake according to manufacturer's directions.  When done, use a fork to lift waffle off grid.  Repeat with remaining batter.

Top waffles with sliced pears and maple syrup, and enjoy.

*The best amount of batter for our waffle iron (
without over flows) is 1/3 to 1/2 cups and makes about 10-12 waffles. 


Tuesday, November 30, 2010

Goulash


This goulash is not authentic by any Hungarian standards, but it is the goulash I grew up eating.  It's my Grandpa's recipe or at least how I remember it.  The main thing with his goulash was to include ground beef, bacon and pepperoni.  My variations from the way Gramps used to do it were because I didn't want to dirty another pot (from cooking the pasta) and my oven is broken.  Instead I cooked the pasta with all the other ingredients and didn't bake it in the oven at all.

Today would have been Gram and Gramps 53rd wedding anniversary, so in honor of them (they made it 41 years before Gramps passed away) I present Grandpa's Goulash recipe.   I just hope I did it justice.

Goulash
Adapted from my taste memory of Grandpa's recipe

1-1.5 lb ground beef
3/4 lb bacon, chopped
1/4 lb (4 oz) sliced pepperoni, chopped
1 onion, diced
3 cloves garlic, minced
1 green pepper, chopped
1 red pepper, chopped
1 (6 oz) can tomato paste
1 (32 oz) can tomatoes in puree, chopped
2 cups water
1 Tbsp dried oregano
1 Tbsp dried basil
2 tsp red pepper flakes
1 tsp paprika
Salt & pepper to taste
1 box (~13 oz) elbow macaroni
Parmesan cheese, grated (or shredded mozzarella)

In a dutch oven or large pot, cook ground beef on medium-high until no longer pink.  Drain juices, then remove the beef and set it aside in a bowl.  Cook the bacon in the same pot until crispy.  Remove the bacon and drain on a paper towel lined plate.  Remove all the bacon fat except about 2 tablespoons worth.  Lower the stove to medium heat and add the chopped onions.  After the onions start to soften, add the garlic and peppers and stir.  Push the vegetables to one side of the pot, then stir and cook the tomato paste in the empty space for about a minute.  Add the rest of the ingredients to the pot, and stir everything together.  Cover the pot, then simmer (stirring occasionally) for about 20 minutes or until the pasta is done.  If the goulash starts to stick to the bottom of the pot, lower the temperature.

When serving, sprinkle goulash with some cheese.

Tuesday, November 23, 2010

Buffalo Chicken Chili


I saw this recipe in Google Reader and the next day I made it.  I'm pretty sure that's the fastest turn around I've ever had.  The only thing keeping me from making it the first day was a trip to the store for chili beans.  I had never heard of chili beans, but what do ya know, there they were in the canned bean section next to the black beans and kidney beans.  While this is described as buffalo chicken (I mean, it's got all the right ingredients: chicken, celery, carrots, hot sauce, bleu cheese), it's not like you're eating buffalo wing flavored chili.  Don't get me wrong, this chili is really good!  I was just expecting something a little more "Buffalo wingy" flavored.  Maybe using dark meat and adding a little more hot sauce right before serving would do the trick? 

With Thanksgiving coming up, this would be a great way to use up some of that leftover turkey.  Just add chunks of cooked turkey when you add the tomatoes and beans.

Buffalo Chicken Chili

1 Tbsp olive oil
2 lb boneless, skinless chicken, roughly chopped
2 large carrots, roughly chopped
3 stalks celery, roughly chopped
1 large red pepper, roughly chopped
5 cloves of garlic
5 Tbsp of chili powder
2 Tbsp ground cumin
1 Tbsp paprika
1/2 cup Frank’s Red Hot sauce
2 (15 oz) cans tomato sauce
1 (15 oz) diced tomatoes
1 (15 oz) black beans, drained
1 (15 oz) chili beans in sauce (do not drain)
Salt and pepper to taste
Bleu cheese crumbles for serving

Put chicken in food processor to grind up – if you can find ground chicken breast, you can use that too.  Heat oil and add ground chicken and cook about 10 minutes on medium heat until no longer pink.  Rinse out processor and add carrots, celery, garlic and red pepper.  Process until veggies are minced finely.  Add to chicken mixture and cook about 5 minutes until veggies start to soften.  Add the rest of the ingredients, bring to a simmer and cook for 1 hour.


Tuesday, November 16, 2010

Smoked Gouda Mac & Cheese


The inspiration for this dinner was that Mile's Market had Yancey's Fancy Smoked Gouda with Bacon on sale.  I grew up in Western NY near Kutter's Cheese (now Yancey's Fancy) so I got a kick out of finding it in Cleveland at Miles Market a few years ago.  They usually have the horseradish or wasabi varieties, so when I saw the smoked gouda, I had to try it.  I went home and searched for a macaroni and cheese recipe to use it.

In my opinion, it's the cheese that really makes a macaroni and cheese.  I'm happy to report that Yancey's Fancy has got some excellent flavor going on with the Smoked Gouda with Bacon.  This recipe makes a very creamy and deliciously smoky mac n cheese.  Since the cheese had bacon in it already, I opted to skip the bacon in the recipe, but next time if I just have regular smoked gouda, I'll definitely try it with the bacon.


Smoked Gouda and Bacon Mac & Cheese
Adapted from The Adventures of Mindyanna Jones

1 pound whole wheat shells
1 Tbsp extra-virgin olive oil
2 Tbsp unsalted butter
1 small sweet onion or 1 shallot, finely chopped
2 garlic cloves, minced
1 1/2 Tbsp all-purpose flour
1/4 tsp cayenne pepper
1/2 tsp paprika
1 1/2 cup whole milk
1/2 cup chicken stock or broth
8 oz shredded smoked Gouda
1 1/2 tsp Dijon mustard
Freshly ground black pepper
4-6 slices crispy cooked bacon, crumbled

Bring a large pot of water to a boil. While the water is heating up, cook, drain and crumble the bacon.  Once the water is boiling, add salt to season the cooking water, then add the pasta. Cook for 8 minutes or until pasta is cooked al dente. Drain well and return to the pot.

While the pasta cooks, heat a medium sauce pot over medium-low heat. Add the olive oil and heat with the butter until it melts. Add the onion and shallot and cook for 3-5 minutes to sweat them out. Raise the heat a bit, then whisk in the flour, cayenne, and paprika. Whisk together until the roux bubbles up, then cook for 1 minute more. Whisk in the milk and stock and raise the heat a bit higher to bring the sauce to a quick boil. Once it bubbles, drop the heat back to a simmer and cook until the sauce thickens, 3 to 5 minutes.

Add the cheese to the thickened sauce and stir to melt it, a minute or so. Stir in the mustard and bacon and season the sauce with salt and pepper. Pour over the cooked pasta and toss to combine. Adjust the seasonings and serve.


Tuesday, November 9, 2010

Lemon Cake with Raspberry Curd

This past Saturday, Nov 6th, was my birthday (I'm sure I'll be receiving your belated gifts in the mail).  Many people only have cake to celebrate birthdays, but there are tons of other excuses to eat/bake a cake (maybe yours is that today is a random Tuesday).  The reason for this cake was that on October 6th Kevin and I celebrated our third year of marriage.  For this year's anniversary, I made a lemon cake with raspberry curd (one of the flavor combos of our wedding cake).  The raspberry curd was amazing and the cake was perfectly moist and lemony!  I definitely recommend this combination when you are deciding on cake flavors for any occasion.

Lemon Cake
From Beantown Baker

1 1/2 cups + 2 Tbsp granulated sugar
Zest of 1 lemon
2 1/4 cups cake flour, plus more for dusting the pans
1 cup + 2 tablespoons whole milk, at room temperature
6 large egg whites (3/4 cup), at room temperature
2 tsp almond extract
1 tsp vanilla extract
4 tsp baking powder
1 tsp table salt
12 Tbsp unsalted butter (1 1/2 sticks), softened but still cool

Set oven rack in middle position. Heat oven to 350 degrees. Grease two 9-inch round cake pans (or one 9x13 baking pan) with butter; line the bottoms with parchment. Spray the parchment, dust the pans with flour, and invert pans and rap sharply to remove excess flour.

Pour milk, egg whites, and extracts into 2-cup glass measure, and mix with fork until blended.

Put the sugar and lemon zest in a mixer bowl and rub them together with your fingers until the sugar is moist and fragrant. Add cake flour, baking powder, and salt to mixer bowl and mix at slow speed. Add butter; continue beating at slow speed until mixture resembles moist crumbs, with no powdery streaks remaining.

Add all but 1/2 cup of milk mixture to crumbs and beat at medium speed for 1 1/2 minutes. Add remaining 1/2 cup of milk mixture and beat 30 seconds more. Stop mixer and scrape sides of bowl. Return mixer to medium speed and beat 20 seconds longer.

Divide batter evenly between the prepared cake pans; using rubber spatula, spread batter to pan walls and smooth tops. Arrange pans at least 3 inches from the oven walls and 3 inches apart. Bake until thin skewer or toothpick inserted in the center comes out clean, 23 to 25 minutes.

Let cakes rest in pans for 3 minutes. Loosen from sides of pans with a knife, if necessary, and invert onto wire racks. Reinvert onto additional wire racks. Let cool completely, about 1 1/2 hours.


Raspberry Curd
From Annie's Eats

8 Tbsp (1 stick) unsalted butter
1 pint ripe raspberries or 1 12-oz. package frozen raspberries, thawed
5 large egg yolks, lightly beaten
3/4 cup sugar
Pinch of salt
2-3 tsp fresh lemon juice 


To make the raspberry curd, melt the butter in a large saucepan over medium heat.  Add the raspberries, egg yolks, sugar and salt, and cook, mashing the berries.  Stir frequently at first and then constantly at the end, until thickened, about 10 minutes.  Pour the mixture through a coarse strainer set over a bowl, pressing hard on the solids to extract as much liquid as possible.  Cool to room temperature; the curd will continue to thicken as it cools.  Stir in lemon juice to taste.  Cover and refrigerate until ready to serve.


Monday, November 1, 2010

Sugar Cookie Bars


Since some people don't like pumpkin so I felt like I needed to have a non-pumpkin dessert option at our Beer and Chili party.  I wanted something quick so I was thinking bar cookies.  That's when I thought of these sugar cookie bars.  After they were frosted I wanted to cut them into pumpkin shapes with a cookie cutter, but the cookies ended up being a little too thick to do that.  So after cutting two pumpkins, I switched to rectangles.  These cookies were quick and easy to bang out on the day of the party, and they turned out really tasty.  So if you're craving that cut-out cookie flavor, but don't want to spend all day rolling out the dough and frosting them, try this recipe!
Since I already had pumpkin cupcakes, I only made a half batch of this recipe and baked it in a 9x13 baking pan.
Sugar Cookie Bars
From The Repressed Pastry Chef via Beantown Baker
1 cup (2 sticks) butter, room temperature
2 cups sugar
4 eggs
2 tsp vanilla
5 cups flour
1 tsp salt
1/2 tsp soda

Preheat oven to 375.

Cream butter and sugar until fluffy. Add eggs, one at a time, mixing after each egg. Add vanilla & mix well.

In a separate bowl combine flour, salt & soda & stir with a whisk to combine. Add to wet mixture and mix just until combined.

Spread dough on a greased 11x17 jelly roll pan.

Bake for 10-15 min, until light golden brown or until a toothpick comes out clean. Cool completely and frost.

Buttercream Frosting
1 cup (2 sticks) butter, room temperature
1 tsp vanilla
2 Tbsp milk
4 cups sifted confectioners' sugar

In large bowl, mix the butter, vanilla and milk with an electric mixer until fluffy. Gradually add sugar, one cup at a time, beating well on medium speed. Scrape sides and bottom of bowl often.  Keep mixing until all of the sugar is incorporated.


Wednesday, October 27, 2010

Beer & Chili Party

Last year we celebrated the 1st annual Cleveland Beer Week with the Bacon and Beer Party.  This year we celebrated with a potluck Beer and Chili party (sadly nobody showed up in an unexpected costume this year).  We had a deliciously wide variety of beers and three different chili recipes to sample.  I did not make chili, but I did make corn muffinssugar cookie bars and pumpkin cupcakes.  In case you hadn't seen it though, here is my recipe for chili.

The food was good and the company was great!  I'm looking forward to our next gathering.


This first chili was of the vegetarian variety which was chock full of corn and an assortment of beans.

The second one was what I think of as a more traditional chili with a tomato base, ground beef, sausage and beans.

The third chili was another tomato base, but this one was smoky and spicy.  It was made with ground beef, bacon, beer (stout) and sausage.


My favorite was actually a combination of the first two.  The vegetarian chili was super thick and the more traditional one had more liquid than I would typically like in my chili.  However, when the two were mixed together, it was a great flavor combination and texture.

Monday, October 25, 2010

Pumpkin Cupcakes


100_3351.JPG
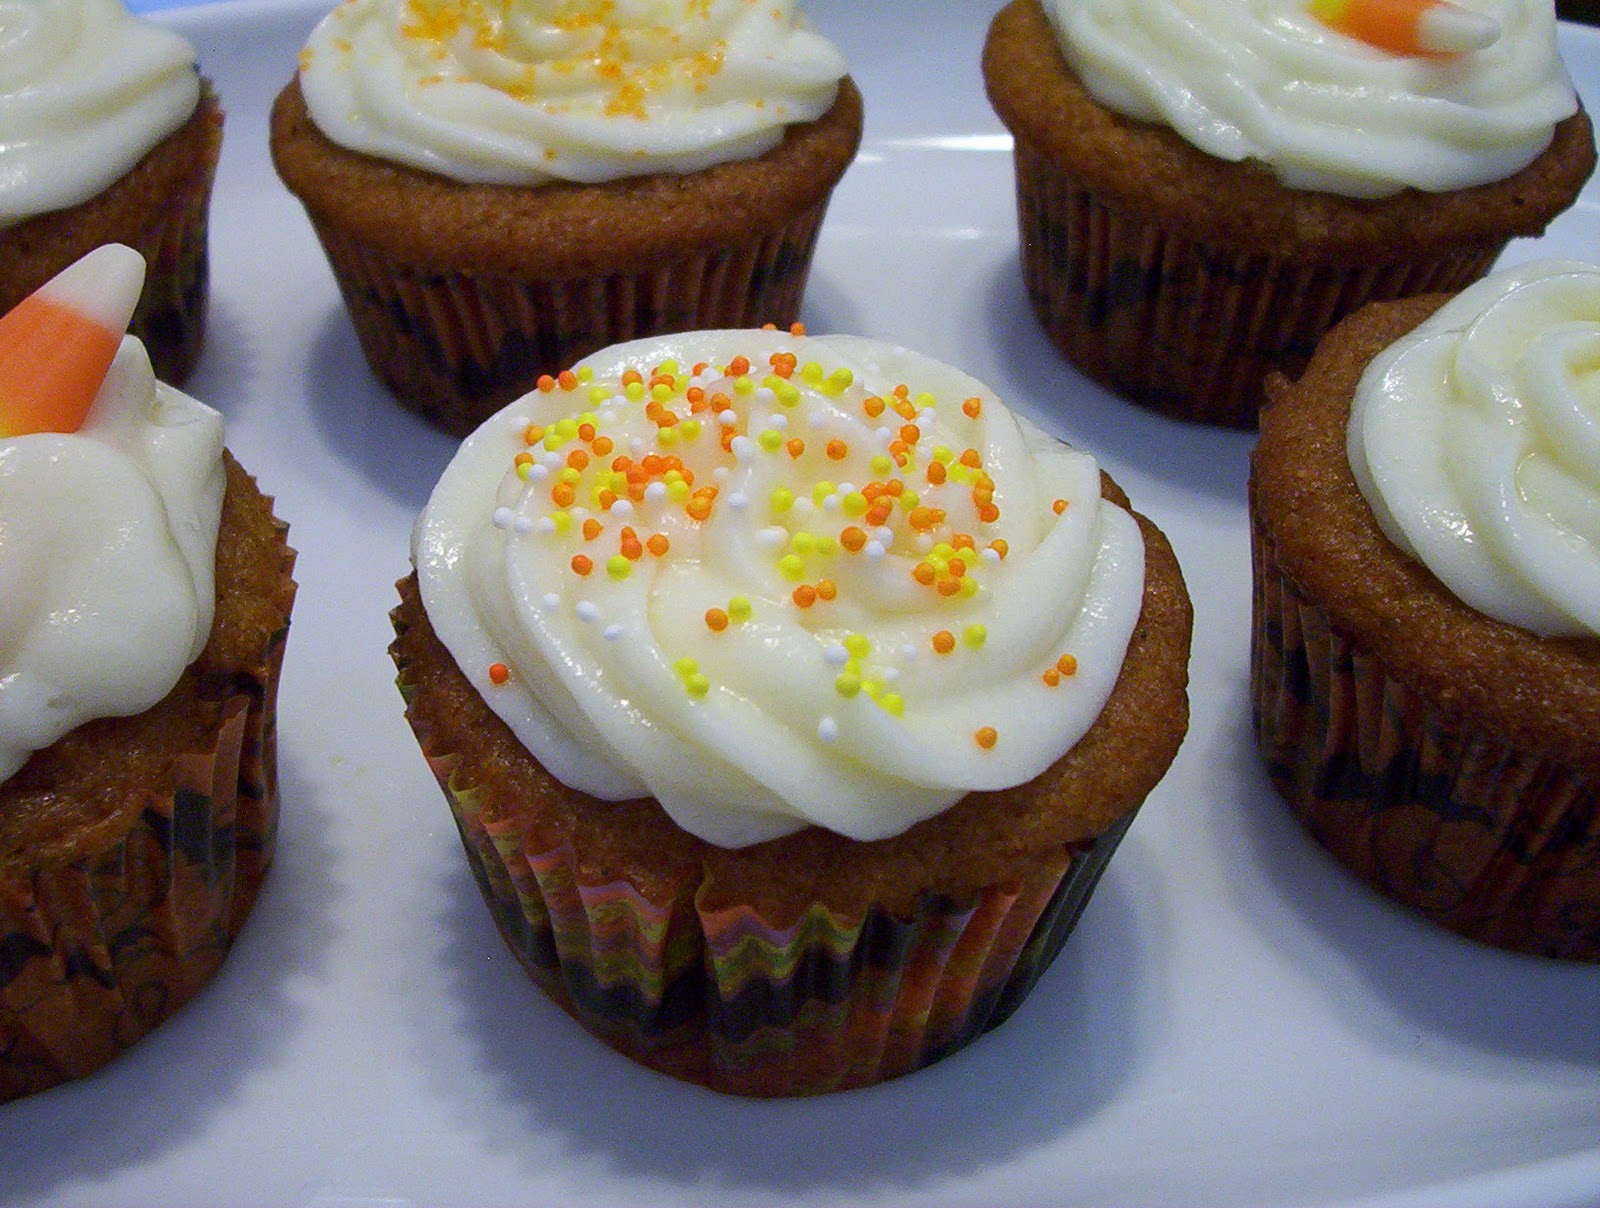
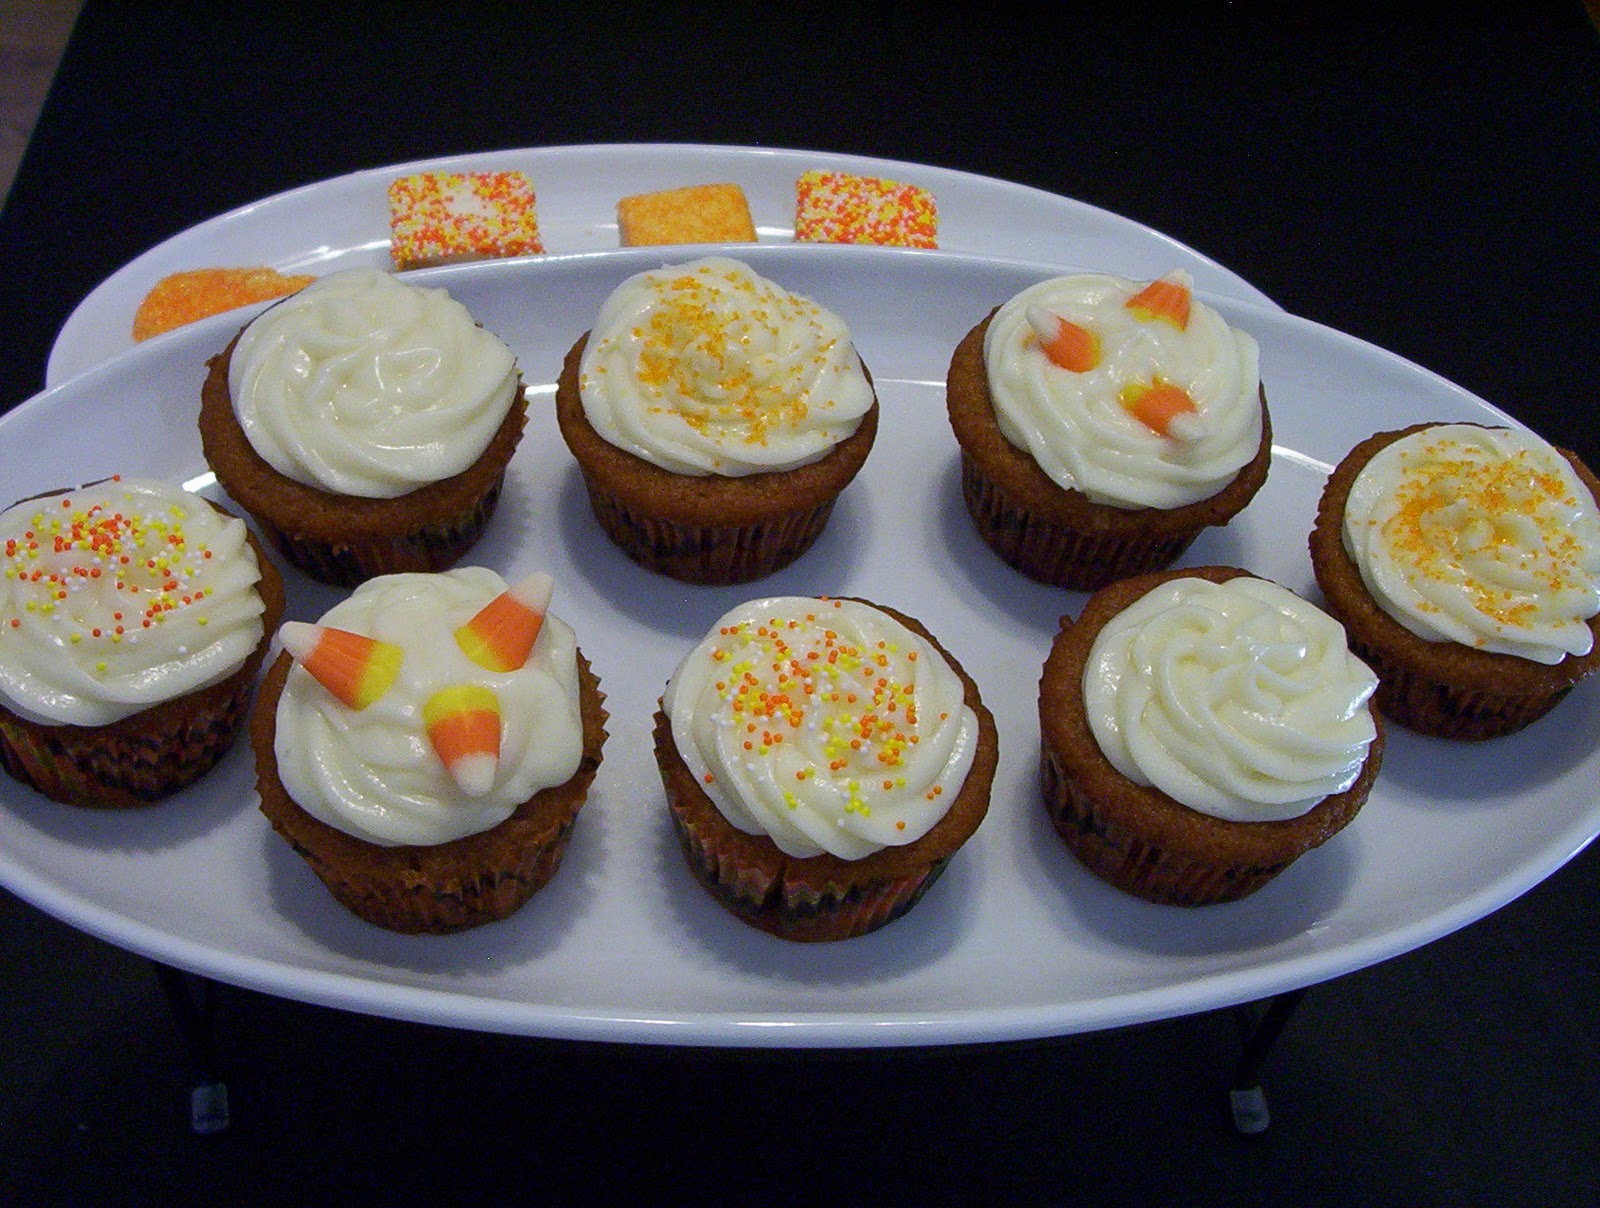
Autumn is my favorite time of year!  I love to bake with pumpkin, but Kevin is not the biggest fan so I have to save those recipes for group situations.  I've made these pumpkin cupcakes twice already this fall.  The first time was to celebrate my sister and my dad's birthdays while I was home for my cousin's wedding (Congrats Meg and Eric!), and the second time was for our Beer and Chili party.  These cupcakes have a nice, warm flavor and will help fulfill your cravings for pumpkin this season.

100_3350.JPG
Pumpkin Cupcakes with Cream Cheese Frosting
Adapted from Smitten Kitchen
1 stick unsalted butter, room temperature 
1 cup firmly packed brown sugar 
1/3 cup granulated sugar
1 3/4 cups flour 
2 tsp baking powder 
1 tsp baking soda 
1 tsp ground cinnamon 
1 tsp ground ginger 
1/2 tsp ground nutmeg
1/8 tsp ground cloves 
1/2 tsp salt 
1/4 tsp freshly ground black pepper 
2 large eggs 
1/2 cup buttermilk mixed with 1 tsp vanilla 
1 1/4 cups canned solid-pack pumpkin
Preheat the oven to 350. Line a cupcake pan with 18 liners.
In a stand mixer, beat the butter and sugars on medium speed until fluffy, about 5 minutes. Meanwhile, sift the flour, baking powder, baking soda, cinnamon, ginger, nutmeg, cloves, salt, and pepper into a medium bowl.
Add the eggs 1 at a time to the mixer, scraping down the sides after each addition. Alternate adding the flour and milk mixtures, beginning and ending with the flour. Beat in the pumpkin until smooth. Scoop the batter among the cupcake liners — you’re looking to get them 3/4 full. Rap the filled pans once on the counter to release any air bubbles. Bake the cakes until a toothpick inserted into the center comes out clean, about 20 to 25 minutes. Cool the cupcakes on racks completely.


Cream Cheese Frosting
Two (8-ounce) packages cream cheese, softened 
1 stick unsalted butter, room temperature 
3 cups confectioners’ sugar
In a stand mixer, beat all the ingredients on medium until fluffy.