Showing posts with label frosting. Show all posts

Friday, February 1, 2013

Cake Pops

Happy February and Happy International Cake Pop Day! 

There is a food holiday for just about every day of the year and I don't normally follow them.  In fact, I had no idea it was Cake Pop Day until I opened Google Reader this morning.  Never heard of a cake pop?  Well, they are just cake balls on a stick!  Cake balls are cake crumbs mixed with frosting, shaped, then dipped in a chocolate coating.  They are perfect little bite-size desserts.


I recently had an order of cake pops for a baby shower (twins!) so I might as well share them today of all days.  I thought they turned out really cute.

**I'm available to bake for you!
Email me to get things started: sarah [at] sarahberridge [dot] com**


Cake Pops
Inspired by Bakerella

Cake Balls (left uncoated)
Chocolate or candy melts
Vegetable oil or melted shortening (optional, may be needed to thin the chocolate, add a little at a time)
Candy Sticks
Cake Pop Stand* (optional, but necessary if you don't want a flat top)

*You'll need somewhere to put the cake pops and if you don't have a stand you can easily make one.  Buy some thick foam board (found in the floral section of a craft store).  I used 2" thick 1'x3' and it worked well for large batches.  Poke holes with a candy stick about 2" apart being careful to push straight down and to not go all the way through the bottom.
  1. Roll and chill cake balls (Go here for recipe and instructions)
  2. Dip the stick about 1/4"-1/2" into melted chocolate, then stick halfway into cake ball. There will be a little chocolate that comes out around the stick.
  3. Let the chocolate set.
  4. Melt chocolate/candy melts
  5. Dip your cake pops. Make sure you cover the little bit of choclate that was popping out around the stick.  Swirl and lightly tap to get off excess coating.
  6. If using sprinkles, add them now before the coating hardens.
  7. Chill and let cake pops harden.
  8. Add decorations (swirls, baby feet, etc).
  9. Let coating harden before packaging the cake balls.
 
Pin It

Tuesday, April 12, 2011

Coconut Cake


Whenever we have dinner with my in-laws, I usually get to be in charge of dessert.  Easter was with them last year, and I was just coming off four weeks of the Wilton cake decorating classes.  Since I had made and decorated so many cakes recently, I didn't want to make another one for Easter.  However, I had buttercream leftover from my decorating classes that were springy colors.  I didn't want to waste the frosting so I off I went to bake another cake.

I decided on Baking Illustrated's Coconut Cake.  They recommend using cream of coconut instead of coconut milk because the fat content in coconut milk varies so much between brands.  This was the first time I had set out to look for cream of coconut, and had a heck of time finding it.  So here's a tip for you:  Look in the ethnic food section and the drink mixer section in your grocery store.

Between the cake batter and the frosting, the recipe uses the contents from one can.  UNLESS, you screw up and forget to add the sugar and don't remember until the cake's been in the oven for 15 minutes!  Then you'll end up using a second can to make up for your mistake.  Oops!

This cake was moist and coconutty and I would definitely make it again.  I wasn't a big fan of the coconut frosting on it's own, but when you eat it with the cake it was good.

Coconut Cake

For the cake:
1 egg
5 egg whites
3/4 cup cream of coconut
1/4 cup water
1 tsp vanilla extract
1 tsp coconut extract
2 1/4 cups cake flour, sifted
1 cup sugar
1 Tbsp baking powder
3/4 tsp salt
12 Tbsp (1.5 sticks) unsalted butter, cut into 12 pieces, softened, but still cool
2 cups packed sweetened shredded coconut
Green food coloring, optional

For the frosting:
4 large egg whites
1 cup granulated sugar
pinch of salt
1 pound unsalted butter (4 sticks) cut into 6 pieces, softened, but still cool
1/4 cup cream of coconut
1 tsp coconut extract
1 tsp vanilla extract

For the cake: adjust oven rack to lower-middle position and heat oven to 325. Grease two 9-inch round cake pans with butter and dust with flour, tapping out the excess. 

Beat egg whites and whole egg in large measuring cup with a fork to combine. Add cream of coconut, water, vanilla, and coconut extract and beat with fork until thoroughly combined.

Combine flour, sugar, baking powder, and salt in the bowl of a stand mixer fitted with the paddle attachment. Mix on lowest speed to combine, about 30 seconds. With mixer still running on lowest speed, add butter 1 piece at a time, then beat until mixture resembles coarse meal, with butter bits no larger than small peas, 2 to 2 1/2 minutes.

With the mixer still running, add 1 cup of egg mixture. Increase speed to medium-high and beat until light and fluffy, about 45 seconds. With mixer still running, add remaining 1 cup egg mixture in steady stream (this should take about 15 seconds). Stop mixer and scrape down bowl with rubber spatula, then beat at medium-high speed to combine, about 15 seconds. (Batter will be thick.)

Divide batter between cake pans and level with offset or rubber spatula. Bake until deep golden brown. Cakes pull away from sides of pans, and toothpick inserted into center of cakes comes out clean, about 30 minutes (rotate cakes after 20 minutes). Do not turn off the oven if you are going to toast your coconut.

Cool the cakes on wire racks for about 10 minutes then loosen the cakes from the sides of the pan with a paring knife, invert the cakes onto racks, then reinvert them so the top sides face up; cool to room temperature.

Coloring the Coconut (optional):  If you want to make the coconut look like grass, you can put the shredded coconut into a large bowl with a few drops of green food coloring.  Mix until all the coconut is even and the desired color, add more food coloring if needed.  If you go with this option, do not toast coconut.

Toasting the Coconut (optional): While cakes are cooling, spread shredded coconut on rimmed baking sheet.  Toast in oven until coconut is a mix of golden brown and white, about 15-20 minutes, stirring 2 or 3 times. Cool to room temperature.

For the Buttercream: Combine the egg whites, sugar, and salt in a mixing bowl. Set the bowl over a saucepan containing 1 1/2 inches of barely simmering water. Whisk constantly until mixture is opaque and warm to the touch and registers 120 degrees on an instant-read thermometer, about 2 minutes.  (Note that this temperature is not hot enough to eliminate the unlikely presence of salmonella bacteria in the eggs.)  Remove from the heat.

Transfer bowl to the mixer and beat whites on high speed with whisk attachment until barely warm (about 80 degrees) and whites are glossy and sticking, about 7 minutes. Reduce speed to medium-high and beat in butter 1 piece at a time. Beat in cream of coconut and coconut and vanilla extracts. Stop mixer and scrape bottom and sides of bowl. Continue beating at medium-high speed until well combined, about 1 minute.

To Assemble the Cake: Cut the cakes in half horizontally using a long serrated knife so each cake forms 2 layers. Put a dab of icing on a cardboard round cut just larger than the cake. Center one cake layer on the round. Place a large blob of icing in the center of the layer and spread it in to the edges with an icing spatula. Hold the spatula at a a 45 degree angle to the cake and drag it across the surface to level the icing. Repeat with remaining cake layers. To ice the sides of the cake, scoop up a large dab of icing with the tip of the spatula and spread it on the sides with short side-to-side strokes. Sprinkle the top of the cake with coconut. Then press the coconut into the sides, letting the excess fall back onto a baking sheet.

Tuesday, March 8, 2011

Cake Balls


Cake pops, cake balls, cake truffles whatever you call them it's the same idea:  crumbled cake, mixed with frosting, chilled, then covered in chocolate.  They are extremely easy to make, just time consuming.  Some people decorate them with a lot of detail (a la Bakerella) but I went the simple route with sprinkles on top.


For Valentine's Day, I sent out these treats for a few friends and family members.  I knew I wanted to have chocolate, and I decided on strawberry for the second flavor, a sort of chocolate covered strawberry.  I made the cake and frosting from scratch because I ended up having time, but feel free to use a box mix and canned frosting.


The chocolate balls came out great, but I was disappointed in the strawberry balls.  Since I made the cake from scratch, there were actually strawberries in the cake which kept it moist.  If we were eating a piece of cake, it would have been fine.  Since I was adding moist frosting to moist cake crumbles, the strawberry filling turned out wetter than the chocolate filling.  They rolled into balls just fine, it wasn't until after sampling the finished cake balls that I realized they were mushy.


The treats were well received from everyone (even though there were issues with the post office).  Everything was sent from the same post office on the same day.  Packages sent to Dayton, WNY, Central NY and VA all arrived on Valentine's Day as expected.  It took 6 days to get to the other side of Cleveland, and over a week to get to NYC and CA.  What?!  I don't usually use this post office location to send packages, and I will not be using it ever again.


I will definitely make cake balls again, but not using strawberries.  The chocolate balls were a hit, and I'd try a yellow cake or carrot cake version.  I'm not a fan of red velvet, but that's a popular flavor as well.


Cake Balls
Inspired by Bakerella
Yield: about 100 1" balls from each cake

Chocolate Cake* (I used this recipe from Coconut & Lime)
1 1/2 - 2 cups Chocolate Frosting (I used Hershey's recipe on the cocoa container)

Strawberry Cake (I adjusted the servings for this AllRecipe to 36, then baked in 9x13 pan)
1 1/2 - 2 cups Buttercream Frosting (I made Wilton's using all butter, no shortening)

*UPDATE: Chocolate and yellow are my favorite cake flavors to use. These are the recipes I like to use, tastes great and no extra egg yolks or anything crazy: Chocolate Cake and Yellow Cake

Chocolate Bark/Chocolate Melts for dipping
Assorted Sprinkles or other decorations (optional)
  • Bake cakes according to instructions, then allow to cool completely (a couple of hours).  Once the cakes are cooled, make the frosting according to directions.
  • Using your fingers or two forks, work the cake until they are small crumbs and transfer to a large bowl.  Repeat the crumbling with the second cake and transfer to another large bowl.
  • Combine about 1 1/2 cups chocolate frosting to the chocolate cake crumbs.  Stir until there are no more dry crumbs or globs of frosting.  Add more frosting if needed.  Repeat with strawberry cake.
  • Roll the cake mixture into 1 tablespoon balls (about the size of a walnut) and place them on wax paper lined trays/cookie sheets.  
  • Chill for a few hours in the fridge or in your cold garage if it's winter.
  • Melt the chocolate according to instructions, then dip the chilled balls one at a time using two forks (clean off chocolate buildup from forks as needed).
  • Place the chocolate coated cake balls on a piece of wax paper. The chocolate dries fast since the cake balls are cold so top with sprinkles immediately.  Repeat until all the balls have been dipped.  

Tip:  If you make multiple kinds of cake balls, you'll want to decorate them differently in order to distinguish each flavor.


Monday, November 1, 2010

Sugar Cookie Bars


Since some people don't like pumpkin so I felt like I needed to have a non-pumpkin dessert option at our Beer and Chili party.  I wanted something quick so I was thinking bar cookies.  That's when I thought of these sugar cookie bars.  After they were frosted I wanted to cut them into pumpkin shapes with a cookie cutter, but the cookies ended up being a little too thick to do that.  So after cutting two pumpkins, I switched to rectangles.  These cookies were quick and easy to bang out on the day of the party, and they turned out really tasty.  So if you're craving that cut-out cookie flavor, but don't want to spend all day rolling out the dough and frosting them, try this recipe!
Since I already had pumpkin cupcakes, I only made a half batch of this recipe and baked it in a 9x13 baking pan.
Sugar Cookie Bars
From The Repressed Pastry Chef via Beantown Baker
1 cup (2 sticks) butter, room temperature
2 cups sugar
4 eggs
2 tsp vanilla
5 cups flour
1 tsp salt
1/2 tsp soda

Preheat oven to 375.

Cream butter and sugar until fluffy. Add eggs, one at a time, mixing after each egg. Add vanilla & mix well.

In a separate bowl combine flour, salt & soda & stir with a whisk to combine. Add to wet mixture and mix just until combined.

Spread dough on a greased 11x17 jelly roll pan.

Bake for 10-15 min, until light golden brown or until a toothpick comes out clean. Cool completely and frost.

Buttercream Frosting
1 cup (2 sticks) butter, room temperature
1 tsp vanilla
2 Tbsp milk
4 cups sifted confectioners' sugar

In large bowl, mix the butter, vanilla and milk with an electric mixer until fluffy. Gradually add sugar, one cup at a time, beating well on medium speed. Scrape sides and bottom of bowl often.  Keep mixing until all of the sugar is incorporated.


Monday, October 25, 2010

Pumpkin Cupcakes


100_3351.JPG
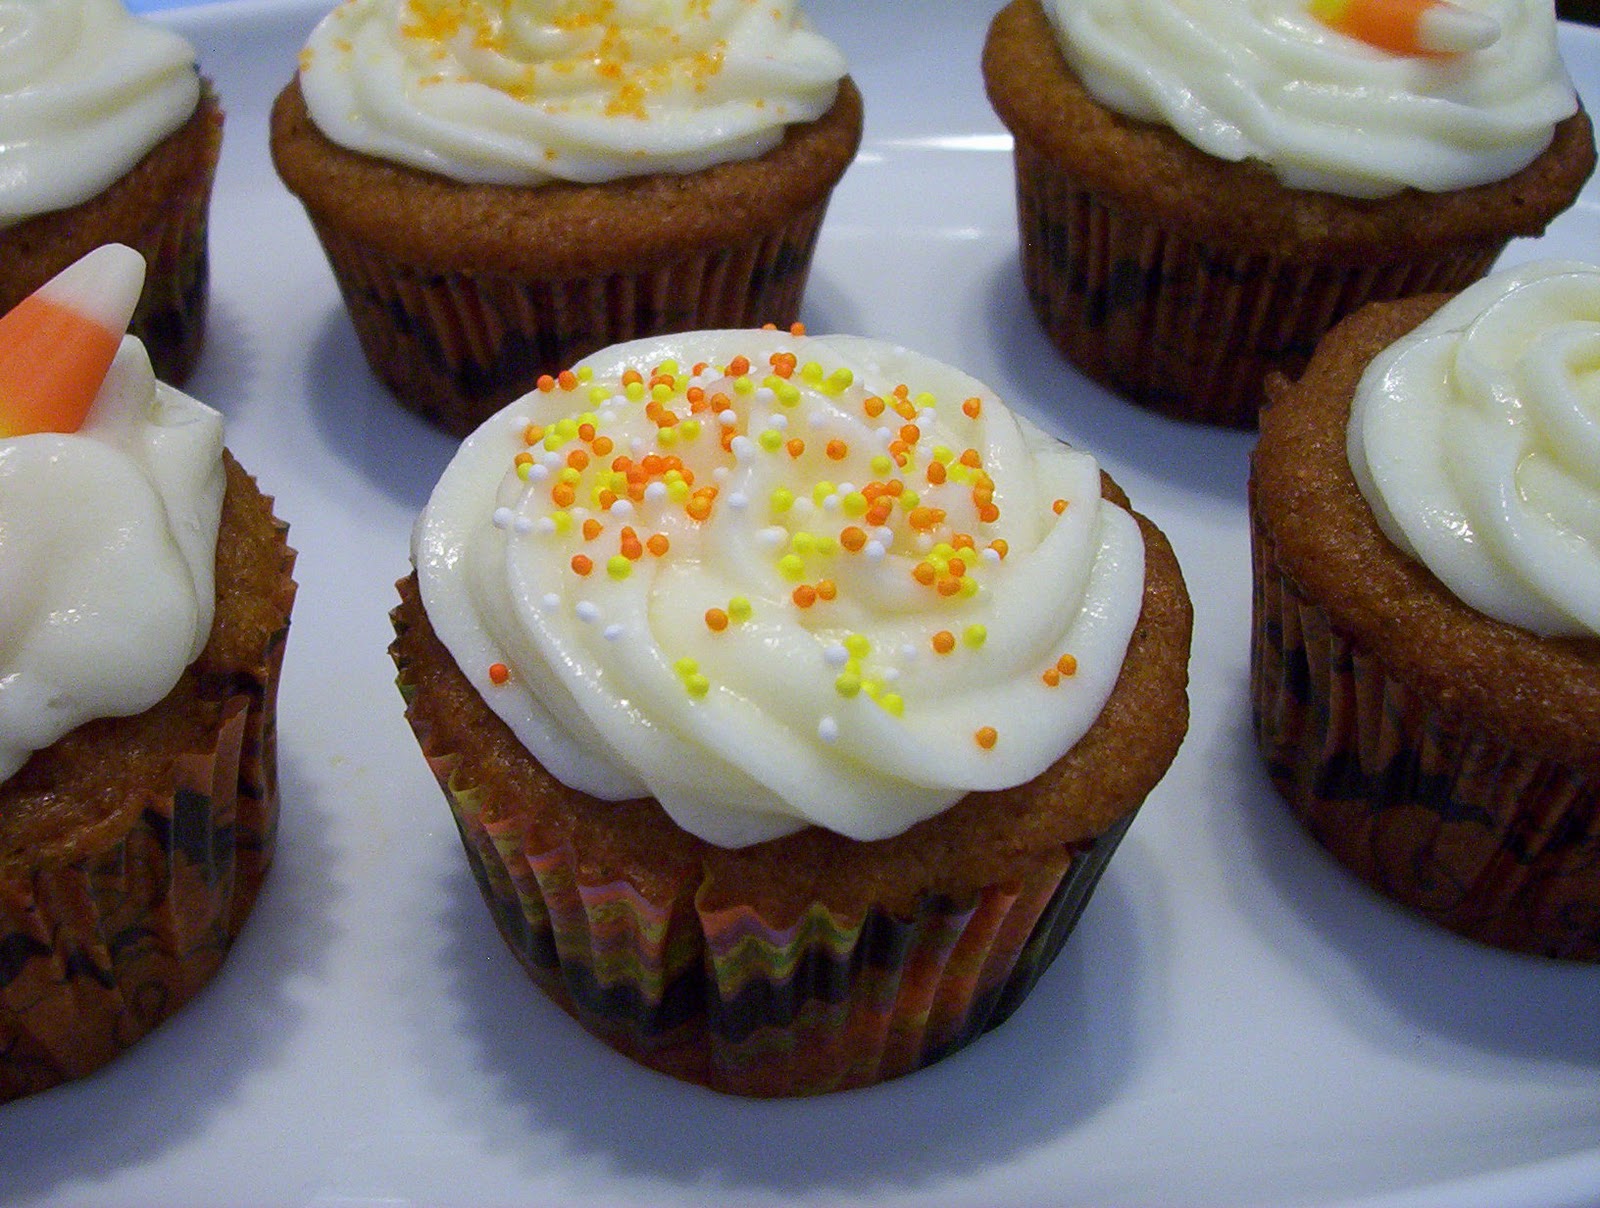
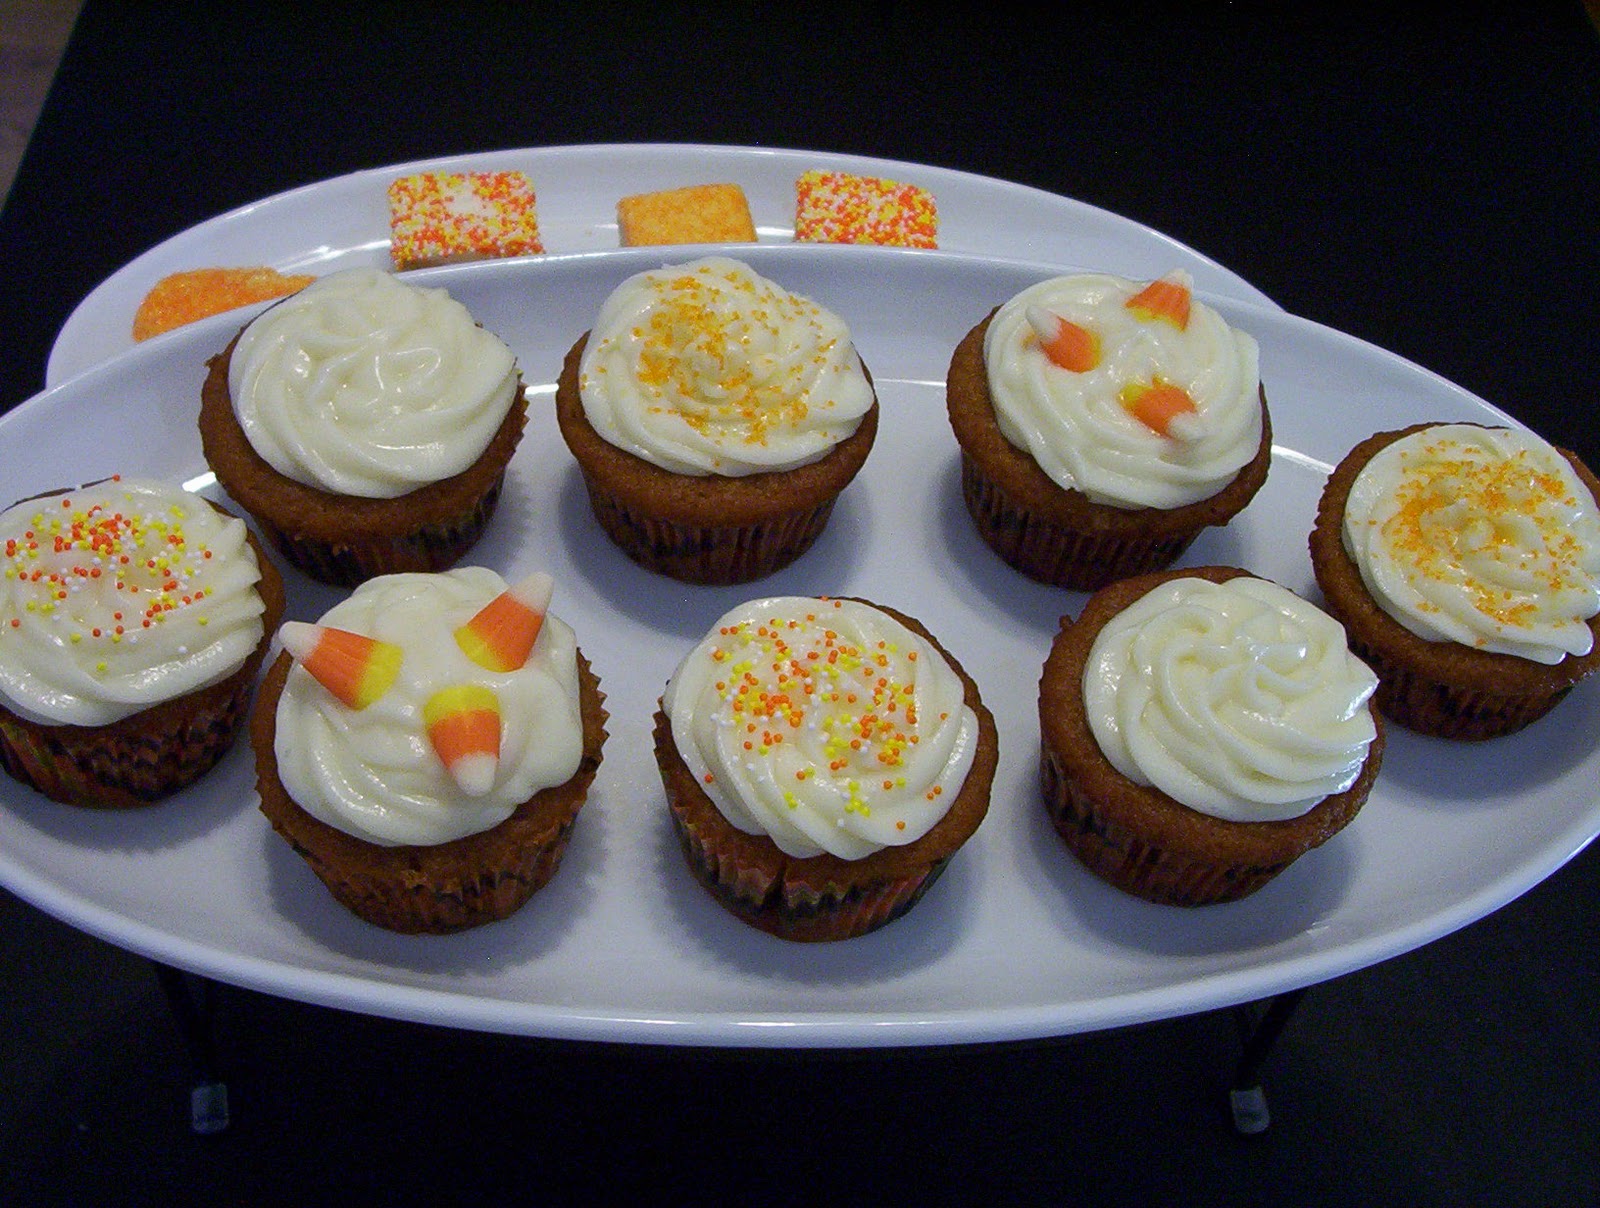
Autumn is my favorite time of year!  I love to bake with pumpkin, but Kevin is not the biggest fan so I have to save those recipes for group situations.  I've made these pumpkin cupcakes twice already this fall.  The first time was to celebrate my sister and my dad's birthdays while I was home for my cousin's wedding (Congrats Meg and Eric!), and the second time was for our Beer and Chili party.  These cupcakes have a nice, warm flavor and will help fulfill your cravings for pumpkin this season.

100_3350.JPG
Pumpkin Cupcakes with Cream Cheese Frosting
Adapted from Smitten Kitchen
1 stick unsalted butter, room temperature 
1 cup firmly packed brown sugar 
1/3 cup granulated sugar
1 3/4 cups flour 
2 tsp baking powder 
1 tsp baking soda 
1 tsp ground cinnamon 
1 tsp ground ginger 
1/2 tsp ground nutmeg
1/8 tsp ground cloves 
1/2 tsp salt 
1/4 tsp freshly ground black pepper 
2 large eggs 
1/2 cup buttermilk mixed with 1 tsp vanilla 
1 1/4 cups canned solid-pack pumpkin
Preheat the oven to 350. Line a cupcake pan with 18 liners.
In a stand mixer, beat the butter and sugars on medium speed until fluffy, about 5 minutes. Meanwhile, sift the flour, baking powder, baking soda, cinnamon, ginger, nutmeg, cloves, salt, and pepper into a medium bowl.
Add the eggs 1 at a time to the mixer, scraping down the sides after each addition. Alternate adding the flour and milk mixtures, beginning and ending with the flour. Beat in the pumpkin until smooth. Scoop the batter among the cupcake liners — you’re looking to get them 3/4 full. Rap the filled pans once on the counter to release any air bubbles. Bake the cakes until a toothpick inserted into the center comes out clean, about 20 to 25 minutes. Cool the cupcakes on racks completely.


Cream Cheese Frosting
Two (8-ounce) packages cream cheese, softened 
1 stick unsalted butter, room temperature 
3 cups confectioners’ sugar
In a stand mixer, beat all the ingredients on medium until fluffy.
  

Friday, January 29, 2010

Recipes You Missed From 2009

Even though my last recipe post was way back in --holy crap! way back in July, I have been cooking and baking up a storm since then. Even though I take pictures of a lot of food (over half of our pics from 2009 were of food), I'm really bad about putting it here. To ease my mind about my failure to follow through, I'll post pictures and links to the original recipe for some of the food I made last year. For dinners, I do a lot of just throwing things together and voila something good happens. I need to be better at writing it down so I can put those recipes up here, that is after all, the purpose of this blog.


Almond Cake with Strawberry Rhubarb Compote:
100_1192


Stuffed Zucchini
: I just whipped this up one night. The grilled zucchini “shell” is stuffed with a mixture of ground turkey, summer squash, zucchini, green peppers, onions, garlic and tomato sauce and topped with goat cheese.
100_1533

This summer I made my Mom’s Potato Salad which resulted in my first time hard boiling eggs.
100_1354 100_1364

100_1755


Frittata and Sage Sausage: One weekend when my parents were in town, I decided to make a frittata (my first time and I just “winged it”) with whatever veggies we had in the fridge and I mixed fresh sage into some bulk pork sausage. The hot sauce garnish added a nice flavor to the frittata.
100_1211


Butter Pecan Fudge: Best fudge EVER!
Butter Pecan Fudge Box


3 Layer Chocolate Cake with Raspberry Filling: I offered to make an engagement cake for Kevin's Uncle. The happy couple requested anything with chocolate and raspberry so I turned to The Smitten Kitchen's Double Chocolate Layer Cake. This is now my go-to chocolate cake recipe. I used Deb's raspberry filling instead of ganache and frosted it with white buttercream.
022 036


I made a Smash Cake for Sophie's 1st Birthday (Kevin's goddaughter) using the same chocolate cake but omitted the raspberry filling. This was my first time using my icing tips. It was supposed to look like a block, but it didn’t turn out as well as I had hoped.
100_2020 100_2032


Outrageous Brownies: Half this recipe and bake in a 9x13 pan for about 25 min.
100_1476


We had a Bacon Party! My sister even dressed up as bacon, luckily none of our guests tried to eat her. Avocado, Feta And Pancetta Bruschetta (FYI: rocket is arugula), Proscuitto Wrapped Figs, Chocolate Bacon Cupcakes with Maple Bacon Frosting, Chocolate Covered Bacon, Candied Bacon, Bacon Ice Cream and so much more!
Bacon Party (38)Bacon Party (31) Bacon Party (26)

Bacon Party (32) Bacon Party (36)Bacon Party (28)


Buttermilk Biscuits and Sausage Gravy: Check out that steam! I wouldn’t use this biscuit recipe again (they were only okay), but the gravy was really good. I added a little more milk until I reached the gravy to sausage ratio I wanted.
Bisquits and Gravy (9) Bisquits and Gravy (7)


Mushroom Stuffed Roast (based on this recipe): Remember when I was searching for butcher’s twine? This was why. The wine should also be noted, Merritt Winery's Cabernet Sauvignon is our favorite red and it's under $20.
100_1789 100_1796
100_1350 100_1369


Homemade Marshmallows: To make the mini marshmallows, I spread the "goo" on a prepared cookie sheet instead of the labor intensive piping that Alton Brown suggests.
100_1980 100_1981